Thursday, February 5, 2015

Cake #15 - Throwback to Kyle's 3rd PIRATE birthday

Cake #15 Throwback Pirate cake - Wow. This makes me feel old, to see my little guy, Kyle now almost 10, looking so tiny in his Thomas-the-Train pjs. Boy he was cute (and still is, but in a different way.)

Kyle loves baseball--is really good at it actually. His Placentia PONY baseball team (age 9U--for "and under") almost took the championship of the World Series of PONY baseball up north last summer--missed it by one game and a 2 point difference!  They plan to have a go at it again this season, so we are definitely a baseball lovin' family. What does this have to do with anything you ask? Well, this morning I heard my cute little nephews--Kyle's younger cousins--say that tonight is their first night of Spring PONY baseball practice. Their new team is the "Pirates". I thought what good "Pirates" they will make. "Pirates" stuck in my head.

So, being a lawyer, and having already had a heavy lawyer week and not wanting to do too many heavy lawyer things today, I  decided this might be a good day to bring in the throwback photos of Kyle's little "Pirate cake."


This was when he was 3. I needed to make something for our little family party that night--not that many of us coming--but also something else to take to his class at school the next day. (This was "way" back when it was o.k .to actually have delicious treats for birthdays at school, not like it is now with raisins or stupid pencils.) So we worked on both things simultaneously--the cake and some little transportable treats.

PIRATE CAKE 

The pirate cake was made with two typical 8" pans filled to the normal amount and then cut and divided to make the hat. (Did you know a pirate hat is technically called a "tricorn" hat? Of course mine was only a a duo-corn hat, if there is such a thing--no third part, but still relatively authentic I would think.) About one third was cut off of each round and the big parts put together, with frosting in between, to make the main/center part of the hat. The remainder was shaped and trimmed and put together for the "wings" part of the hat. It was "glued" together with a thick coat of frosting. All was frosted in chocolate, probably canned frosting in those days, if I remember correctly, and I bet it took 2 cans of chocolate and 1 can of "white." 

I actually like canned frosting o.k. in the right application.  It tastes relatively good--especially to kids--it's quick and easy and you can keep plenty on hand, and holds up relatively well on many cakes; but often it is too soft or thin to do much else with, besides a base coat or some simple piped on stuff. Piping that is too intricate or fancy sort of melts away when you use canned frosting, and  it
loses a lot of its shape. However for kids it's great really, because it's sad to waste a whole pound of butter and good vanilla, that normally goes into the "GOOD" butter cream, on little folks who can't really appreciate it anyway.

I also don't often use the plain white "decorator" frosting (usually made with shortening, not butter) as I just don't like the generally waxy, greasy taste of it. It is MUCH easier to work with for decorating, and coloring to get your "true" colors with dye, so I will use it from time to time, but I am pretty sure this cake was made with just a basic plastic can or two 'o stuff.


After the cake was assembled and coat frosted, I sealed the edges by piping on more chocolate, and then accented and "rolled" the corners  with white piped frosting, probably canned "white" again (not "vanilla", but "white" to ensure I had the dramatic color contrast.)  I drew the skull and cross bones with white too, and added the eyes and mouth again with the chocolate.


 Instead of writing ON the cake, I decided I would make it all look bigger and then fill empty space, by using a gold cake board I had (less 

than $5.00 at the local craft store) and wrote directly on the board. I then put on some gold foil covered chocolate candy coins I got at the drug store (leaving out the bigger ones) and using the white frosting, "stuck" them to the board, and each other in a pile, around the hat, and voila, done! Quite simple really.

It was easy to cut and serve too. I am often attentive with my cakes to the place and manner in which the cake will be served. Some cakes are awesomely beautiful, but can't be easily served or cut into enough pieces to serve the number of guests (i.e. see Cake #17 which I will post shortly--the coconut peach layer cake, beautiful but not all that practical to eat unless you love big,  thick pieces--most of us don't.)

 JELLO- COOL WHIP SCHOOL BIRTHDAY TREATS

With the cake finished, it was on to the school birthday party project. We stuck with the pirate theme. 


The little to-go pirate birthday thingies were plastic cups (don't forget the spoons) filled with two colors of jello with cool whip in the middle--like a flag--with little pirate ship "Happy Birthday" flags we made with our color printer, fancy scrapbook scissors and construction paper, stuck with tape atop cool black straws I had. (Not sure where I got my color scheme for the jello, but it does look like a European sailing ship flag of some sort doesn't it? )

We made the two batches of jello--1 in each color--and refrigerated them until they were just soft. They were spooned into the cups along with the cool whip and then refrigerated again to render them more solid by morning. The flags at first went in at home, but I then decided to put them in at school so they would fit in the cupcake holders during transport.

Their small size allowed me to easily move them in my cupcake holders, and also for the teacher to dispose of everything. They were, I guess, arguably not a super "sugary" cake treat, and the kids definitely loved them. Way better than stickers or pencils that's for sure!


Sunday, February 1, 2015

CAKE #14 - JACK'S 4TH BIRTHDAY LOS ANGELES KINGS HOCKEY CAKE

Cake #14 Hockey, Los Angeles California KINGS Birthday Cake for Jack's 4th Birthday

JACK just loves the Hockey team, the Los Angeles Kings! He's just turned 4, but has been to quite a few games, and got a great picture with his dad and the Kings' mascot and their Stanley Cup trophy won in the 2014 season. When I was tasked with creating a birthday cake for Jack using the hockey theme, I pondered how I was going to go about it, and  remembered that great picture that had been posted on his mom's Facebook page and snagged it. (It was cool, that without any coordination, his mom also used that same picture for a banner hung on the jumper they got for the party. So we looked really coordinated, without even planning to!) 

To make the edible picture, since I didn't own such a printer, I went to my local Albertson's grocery store and to their bakery where I had heard they would duplicate my photo on edible paper, with a print of that photo and indeed for a mere $10.00 I had the centerpiece of my cake.

I knew the party would be somewhat large and would include both adults and children. I always expect that children prefer something they can eat with their fingers, and not a fork, so unless something else inspires me, I would normally plan a centerpiece cake, surrounded by mini cupcakes  if the kids are little, and maybe regular size cupcakes if they are older. Since my cupcake transporters hold 24 each, and I have 2, I could probably make up to 48, but usually stop at 24 if  the cake is good size, and in this case, it was actually rather large.

For this project I decided to incorporate the Kings colors, which are  white, black silver and purple. Apparently when researching jerseys and colors, purple USED to be dominant, but not in 2014. Black, the emphasized color today, is boring for a cake (and also doesn't taste that good) so I started with the purple and decided to dye the cake itself purple, and would frost it in white with black accents.


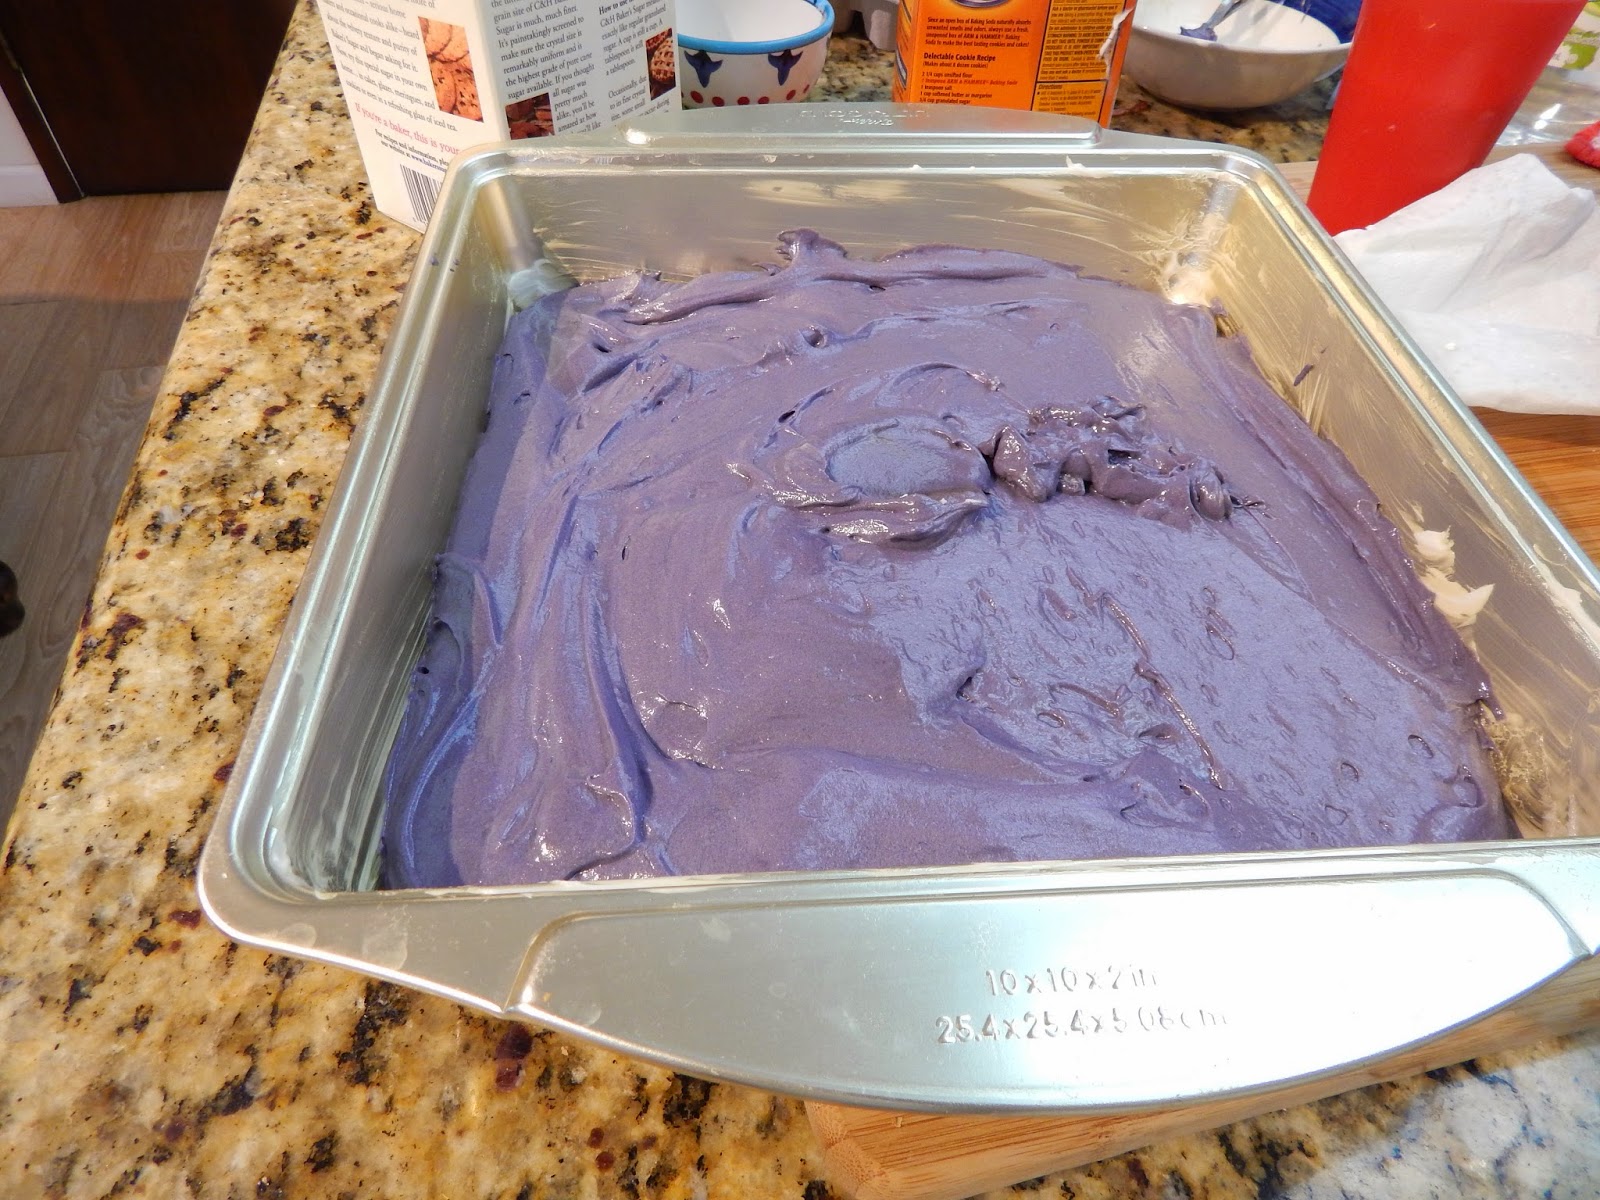
I decided for the number of guests, that the cake should be on the large side and made a double size batch of batter in my larger square cake pans. I then planned to split each in half so I would have a four layer cake.. (I wished I had kept a photo of it once cut open. It turned out really pretty inside too though the purple dye (despite that I used a lot)  didn't make it that purple in my chocolate cake. (Jack wanted chocolate). Had I used a white cake recipe, the purple color might have come out stronger, but the dusty dark purple was actually o.k. enough for this application.


 I made this batter from scratch and used my normal "special" flour (cake flour for a lighter texture) and "special bakers sugar, which I have preferred in most applications nowadays since it's more widely available (and not THAT pricey) than it used to be. This cake recipe required white vinegar to help it rise and definitely turned out tasty.


 To split it, I waited until was cool all the way of course, and then using my favorite Wusthoff long, serrated bread knife, cut through it all the way through. I then used my Wilton cake lifter (a great find for less than $20.00 years ago) to move the layers apart. The lifter is just like a huge spatula, but allows it to be moved with minimal stress on any one part of the cake, which could result in breakage.  After separating all four layers onto parchment, and letting it cool some more, I decrumbed it as much as I could and then put it in the freezer. Freezing cakes before frosting, helps keep the crumbs down.
 From these pictures you can see how much darker the baked cake came out (versus the batter.) So if I did this next time, I probably would either add more dye (double the 3 toothpicks full I used) or go with a white cake so the color would stand out more.


 Then I began the frosting. This time I used my regular buttercream, made with powdered sugar, sticks of salted butter, and some vanilla and whipping cream instead of milk. I almost always use the Schilling's vanilla that in my view tastes best (except when I have some of the Williams Sonoma Madagascar Vanilla Paste) which tends to make the frosting more yellow than white. Sometimes I will use a clear vanilla I have for my "whiter" applications, but this time the off white actually looked great with the black and purple, so no harm done and it tasted better.
 After frosting the entire cake and sides , with a basic layer of butter cream,  I patted the edible photo, centered,  onto the cake, tucking the edges gently into the cake and frosting.  I anticipated originally that the photo would be maybe 4 x 6 on a 12 x 12 cake, but the gal who printed it at the store didn't really know that well what she was doing, and they were about to close, so I just took what she produced and it was probably 8 x 11 ish. I was able to trim part of the edges off with scissors, and it fit on the cake pretty well actually, despite it covering more territory on the cake than I originally envisioned.

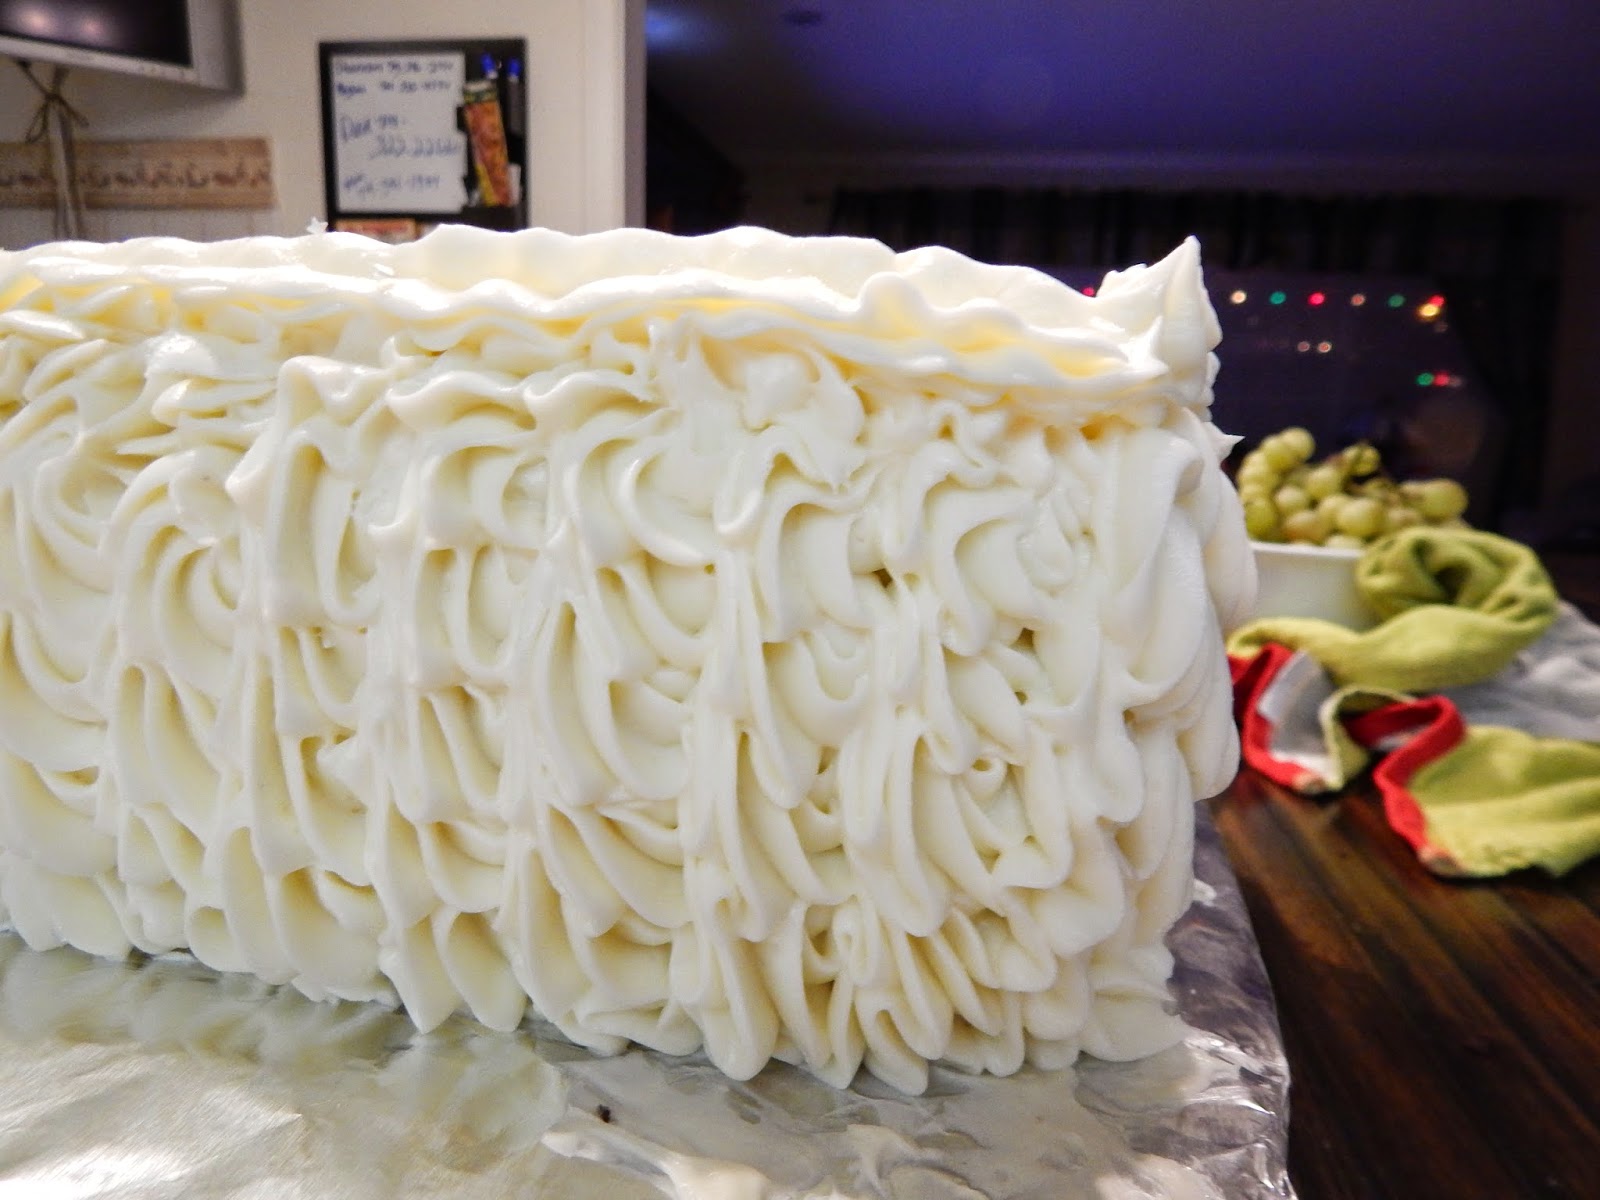
Then to deal with the sides, rather than going smooth, I went with ribbons of frosting, in a star pattern applied with the frosting bag and tip, to the entire sides of the cake. That made it more tasty since there was now a larger amount of frosting on the sides, and it gave it a more intriguing pattern.

I was a little disappointed in the shape, but couldn't do too much about the fact that with 4 layers you are bound to get a little bit of lopside to your cake. If you catch that as you are working on the cake, you can frost the layers in the middle of the cake thicker on one side  to help even the cake out, but here while I thought I had levelled it well, it did sink by its own weight, a little bit to the right. Oh well that does tend to happen on a many layered cake.
 This is how it looked un-dressed. While it came out great, I felt that it still needed color and something to tie it altogether, so I found my little vial of edible silver star flakes and sprinkled them all around the picture on the top. That made it look awesome and finally the fancy I was looking for.

I made some black dyed frosting and used it to write the "Happy Birthday Jack" at the top and bottom and on the diagonal. The picture was so great that I was afraid to cover up any of it with the writing, but had just enough room to squeeze it in and still show Jack and dad's happy face. 


At my local craft store, I found some terrific black and white mini cupcake papers that went with the theme well, and made white cake mini cupcakes. (If I make the cake chocolate, I usually make the cupcakes white, to accommodate taste preferences...even among the kids! :-)  So these were white to contrast with the chocolate in the "main" cake.

 I used the same giant batch of butter cream frosting in my piping bag with the large star tip, and piled the frosting high. I then used my remaining black dyed frosting to put a small black drop on the top of each, in the "shape" of a hockey puck. I doubt anybody bought that the dots were hockey pucks, but it still looked pretty good, and was all tied together well.


Transporting cakes and cupcakes is always a challenge, but I used my two dozen cupcakes stacked tray that I got at Target for less than $20.00 to carry the cupcakes, and had to hand carry the square cake. I have two holders for round cakes but nothing for this size square. Sometimes I will buy the bakery style pink (or usually white) boxes for transport, but since I wasn't going far with this, figured I could put it in the back of the car and drive carefully.

  I do have to say that I rarely let anyone hold my cakes on their lap (or the floor or seat next to them) if I can, as the few times I have done that and something bad naturally happened on the way, I felt compelled to be angry at them, even though it was not their fault that, for example, something shifted as we turned a corner. So now, and so I can blame only myself if something goes wrong, I have become really picky about doing it myself, and invested in a few more bakery boxes and/or plastic domed cake holders (Wilton has a really great round one) that work for me for most applications (except the Barbie cake--soon to be posted--, for which there was just no box or case tall enough to accommodate here. On THAT ride to the party site, on a warm day, with the jiggling of the car and the heat, her dress slipped down and almost off of her cake body, leaving me to scramble how to fix it after we got there. It turned out o.k., but after that debacle, I do take care to plan my transport almost before I even plan the actual cake.)


 At the party, the cake was placed next to the blow up "trophy/Stanley Cup" with the cupcakes surrounding  it and it was, I think, a big hit and I am pretty sure Jack loved it.